Since being with Trys, I've gained a real interest and passion for photography. Not only is he an incredibly talented photographer, but he is also a very patient teacher! I'm slowly picking up the basics and am really enjoying this learning journey. It's a creative outlet that I've really connected with, but there is so much to learn, and far more theory and skill to it than I ever really appreciated prior to picking up a camera myself.

Below are a few tips and tricks that I have learned from Trys. Now, I know they work and are really effective, but I can't necessarily explain all of the theory behind it- I'm still working on that!
Note: I've been learning on a Nikon D750, but these rules should apply to most cameras.
Prior to heading off to take photos, always make sure your camera has a charged battery (maybe even take a spare) and an SD card with memory. The Nikon D750 has 2 SD card slots in case one fails or gets corrupted. Again, it never hurts to take a backup.
Then, the next thing to learn is to turn the camera on- it can't take a photo otherwise! This is, of course, really simple, but I always forget to turn it on, and wonder why it's not taking the picture! I was always so worried about leaving the camera on while walking, but it's actually ok. The Nikon camera I've been using can last up to well over 1000 shots before the battery dies.

The square in the viewfinder is where the focus is. You can move the square around to change the focus point. If your shot appears focused in the viewfinder, but the camera doesn't think it is (perhaps due to lower lighting conditions), you can override the autofocus by pressing the AE-L AF-L button simultaneously with the shutter button.
Tip: When shooting portraits of a human or animal, set the focus square to be on the nearest eye as this will be where the viewer's attention will be drawn to.
I've just about gotten to grips with the idea that more light is let in when the F-number is lower (with a wider aperture), and less light is let in when the F-number is higher (narrower aperture). Trys helpfully demonstrated this with the aperture blades on the camera, and it was so clear to see the ring size increase and decrease, thus showing the amount of light that will be allowed in.
Starburst photos of the sun can be really cool, and they're quite easy to do. You need to be patient, and the time of day seems to be a key part of whether the shot will work. It seems to be that when the sun is rising or beginning to set is a good time to try - the sun may potentially be too bright in the middle of the day. If you want a starburst picture of the sun, you will need a narrower aperture (i.e. a higher F-number, potentially the highest F-number the camera allows).
Tip: Starbursts don't have to come from the sun - they could come from any source of light (i.e. fairy lights, street lights etc.)
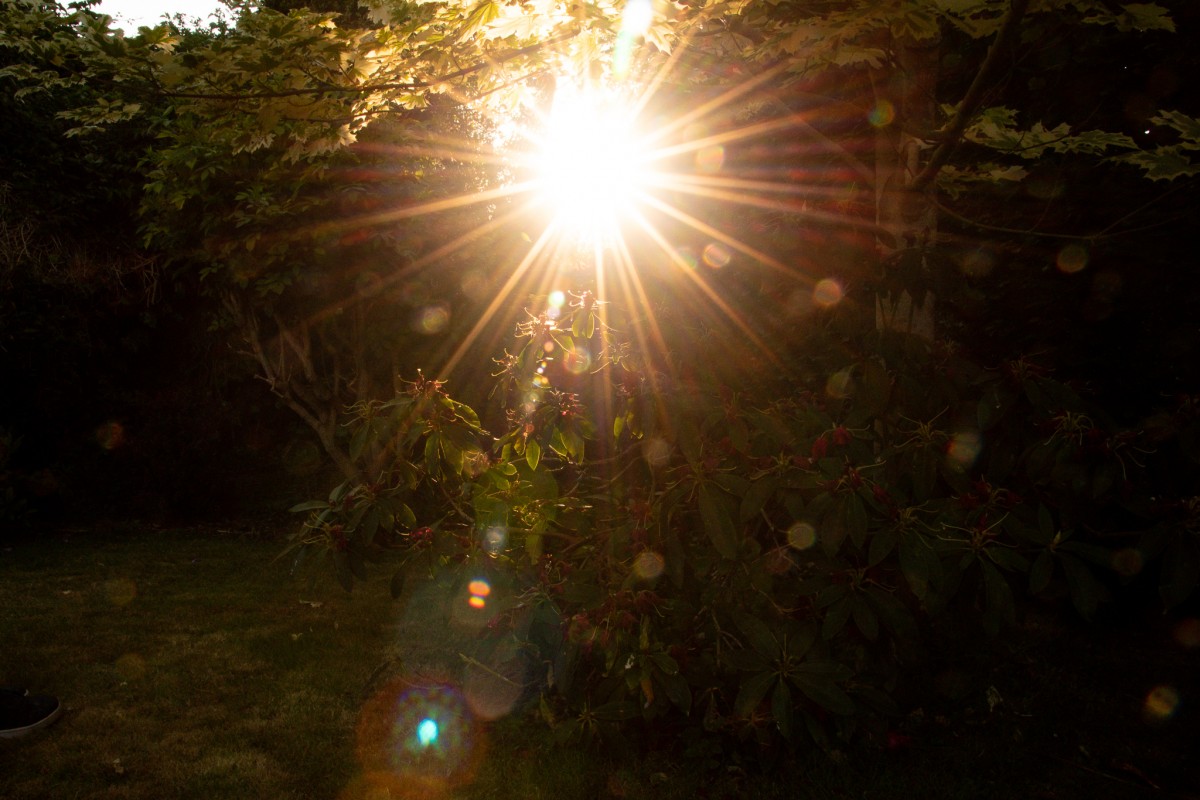
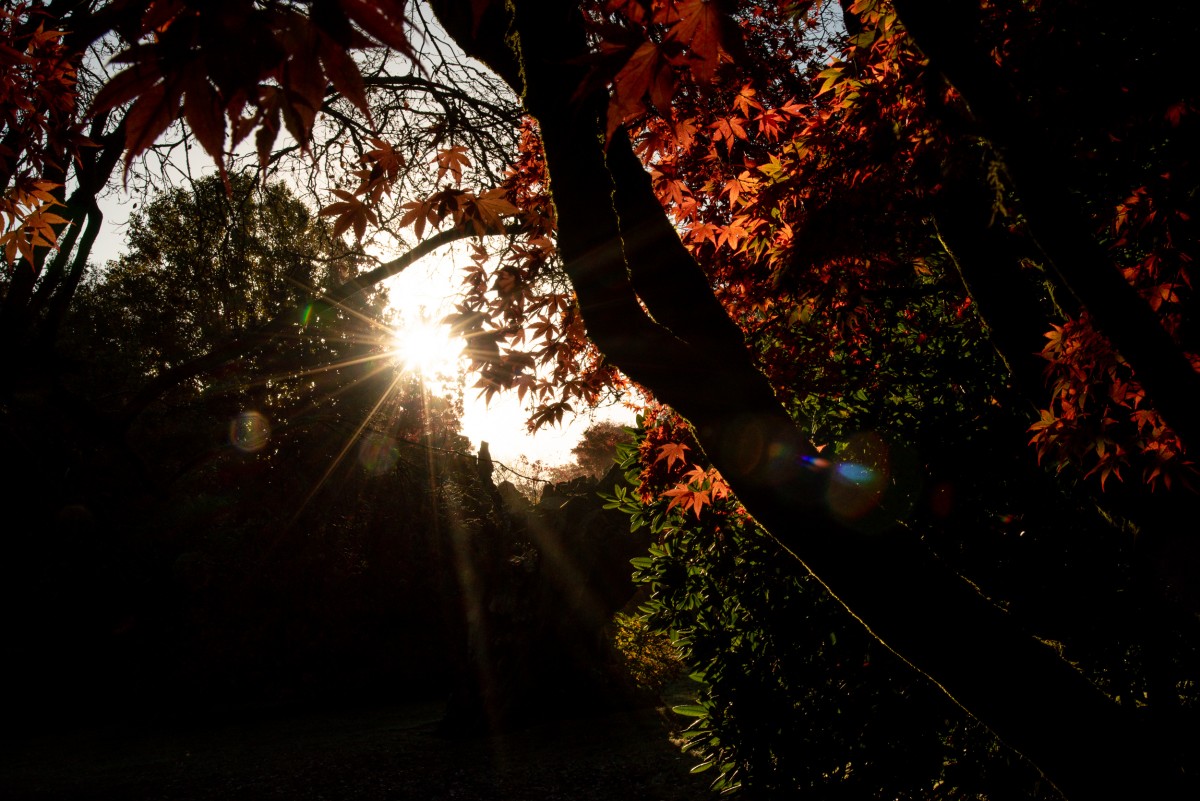

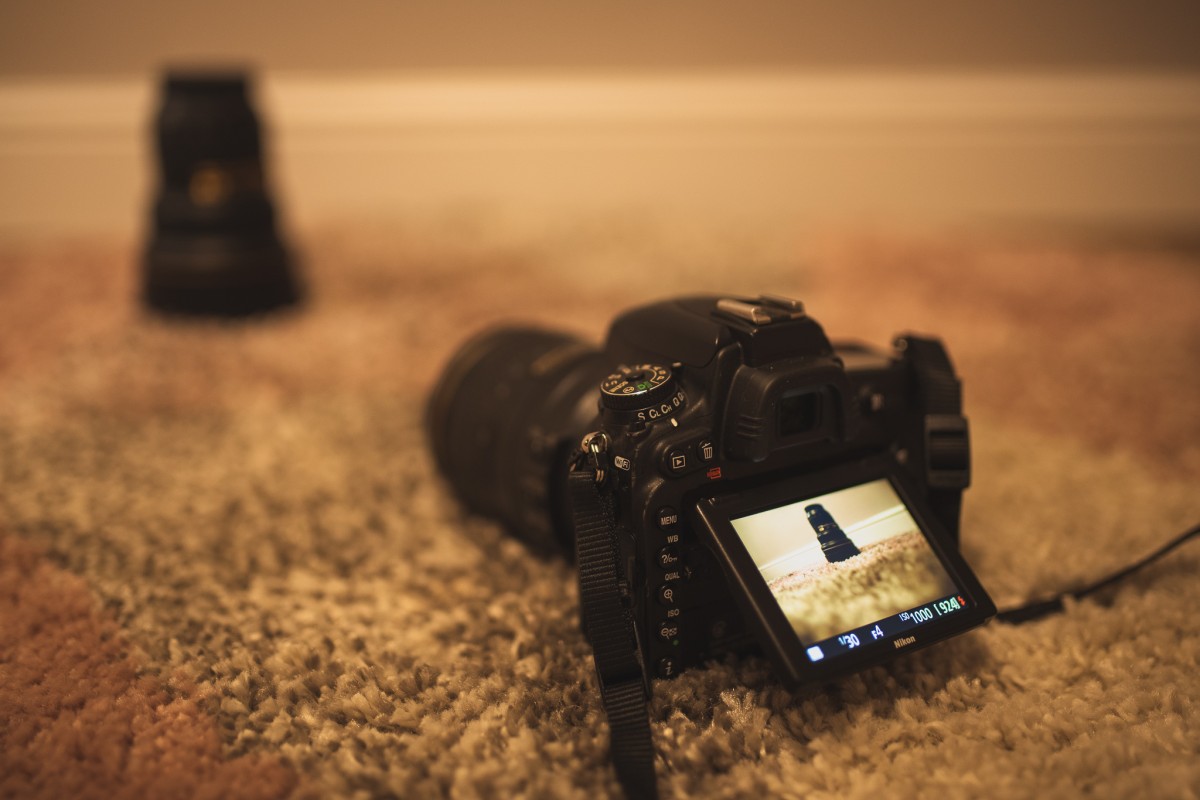
Note: Be sure to clean your lens before taking photos with high F-numbers- any dust will be very visible (see first image)
Liew view enables you to see what the camera is seeing on the screen, rather than simply through the viewfinder. You can press the live view (Lv) button and then pull out the screen to an angle that allows you to see it.
Using live view means you can take photos at more challenging angles (i.e. you don't need to get right down on the floor to take a photo of the ground with a scenic background). You can also use it in the opposite way (i.e. hold the camera up high to see over something, but angle the screen down to see what the camera is seeing).
Remember: Press the live view button again when done!
The composition of a photo is really important. You want to frame the image in a way that draws the viewer's eye into the feature of the photo. Rather than always putting the subject in the middle of the image, you can use the rule of thirds to divide up the image into an 'invisible' grid of three and position the subject on any one of those grid lines for a more interesting composition.
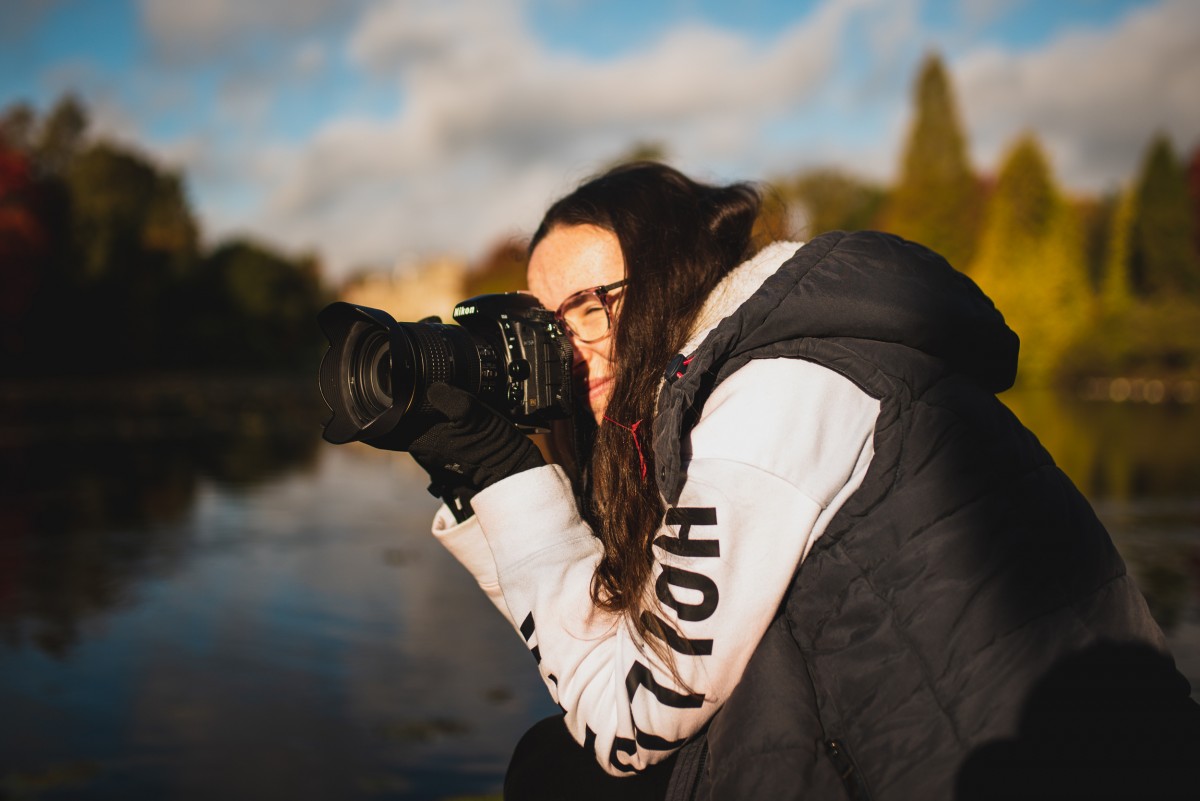
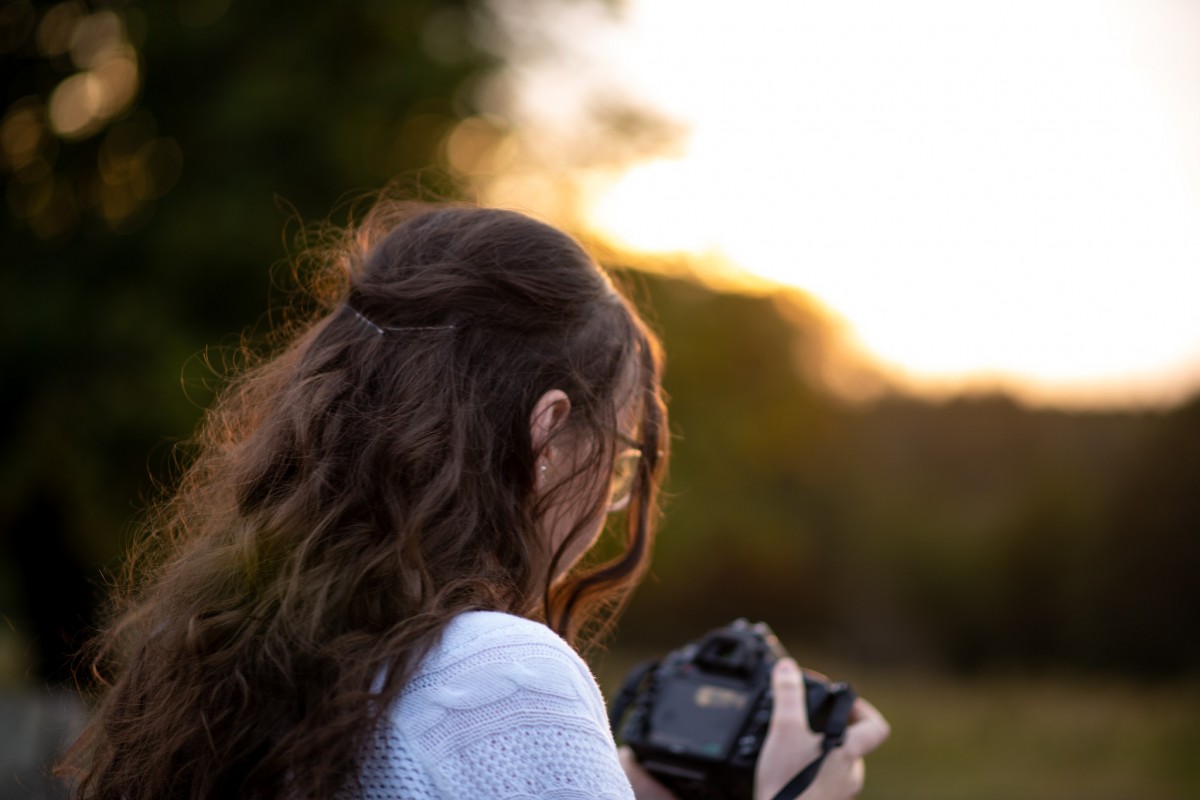
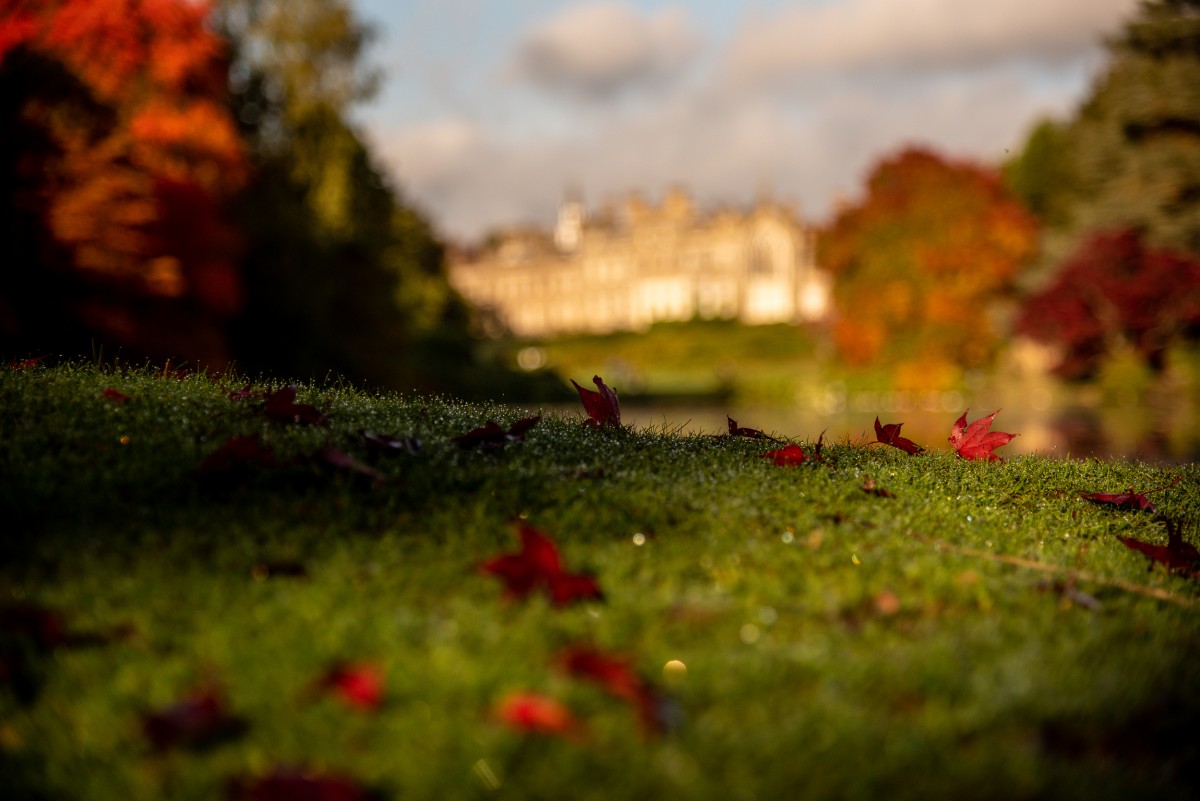
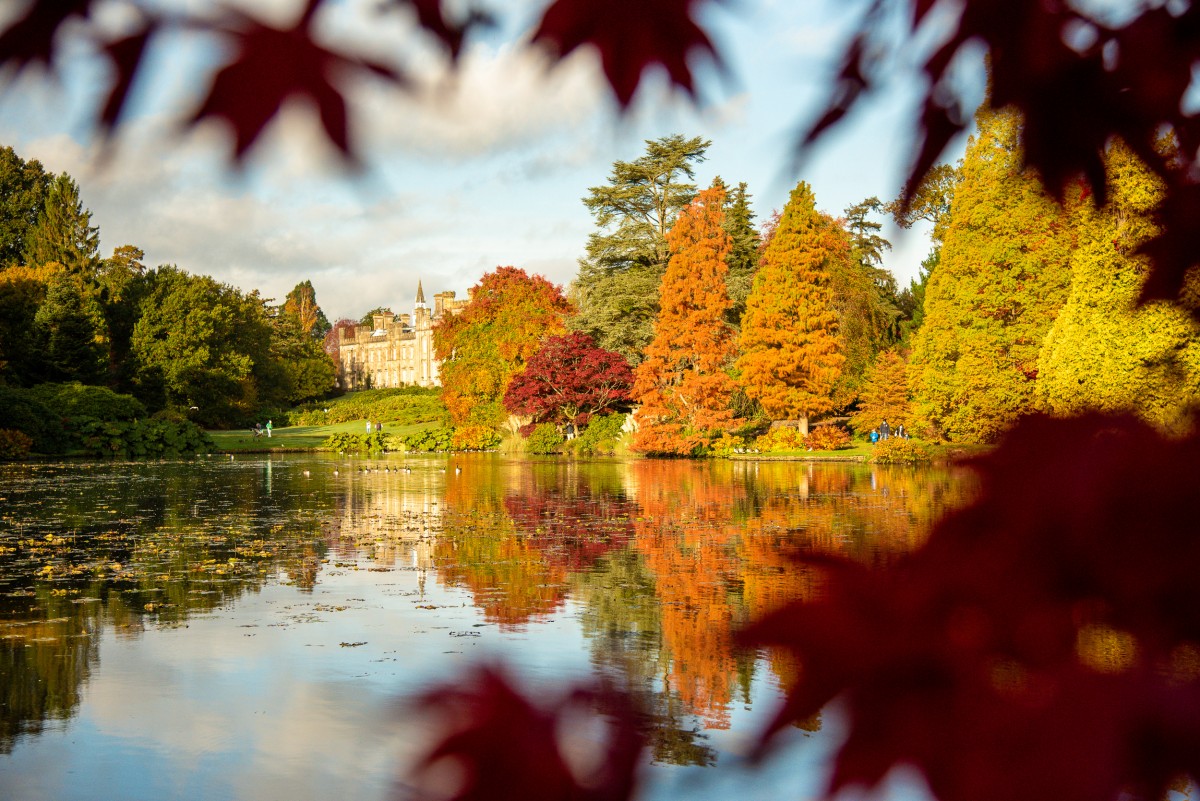
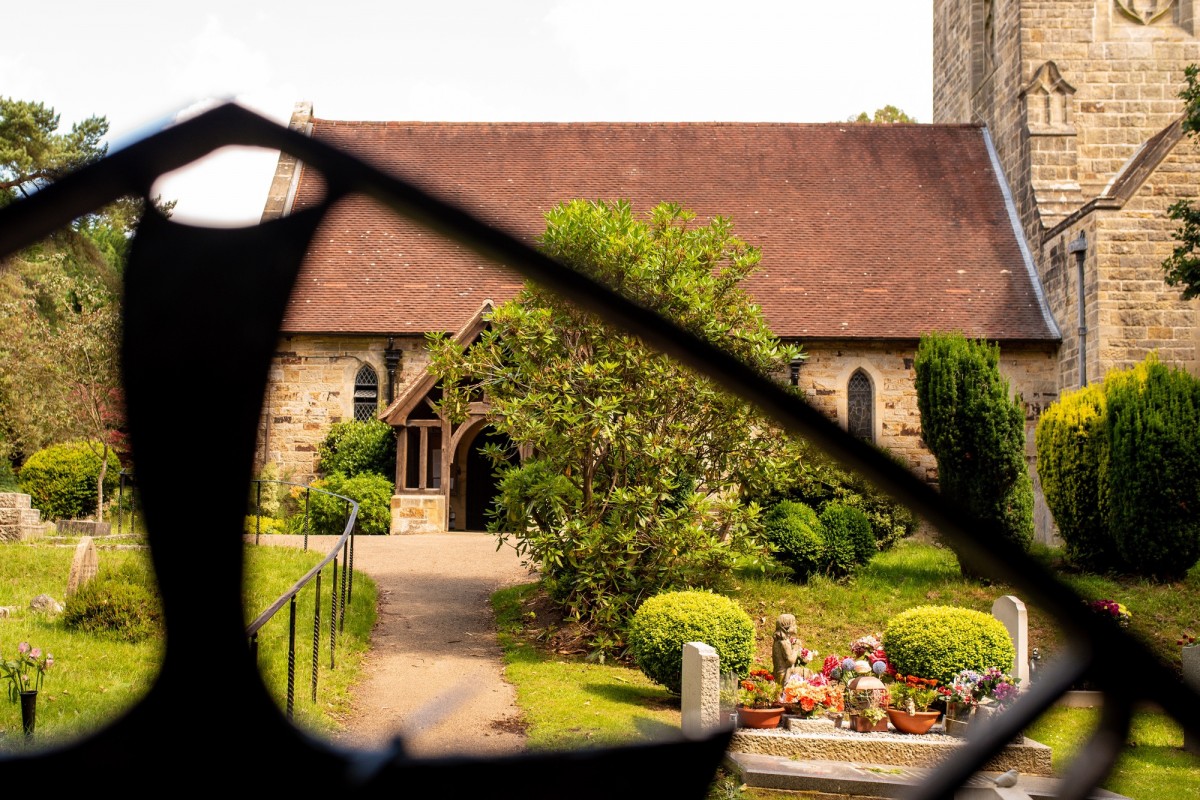
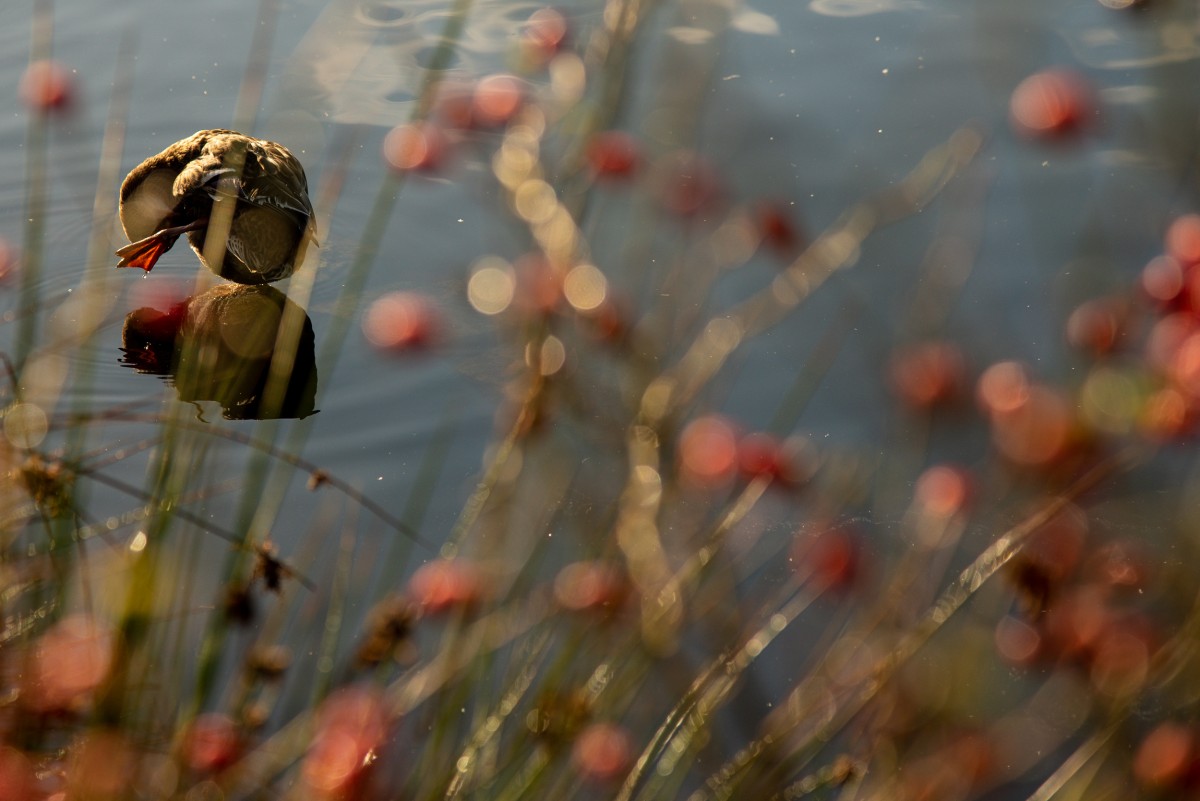
Shooting through objects enables the photographer to get creative, and gives a whole new feel to an image. It can be used to bring in additional colour or to add some texture. It works really well shooting through an object in the foreground to frame the photograph or to focus the viewer on the feature point in the background. To blur the foreground object, use as low an F-number as possible. The below photos were taken at F-1.4.
Tip: If your camera doesn't have a low F-number, you can get the lens closer to the object in the foreground in order to make it appear more blurred.

I plan to post more photography content as I learn more about how to set up the camera, take photos, and edit. Hopefully, I'll be able to offer beginners some more tips and tricks on starting out with a camera - so stay tuned for these blog posts!