For assignments 3 and 4 of my photography course, I have been looking at the use of artificial lighting and portrait photography.
I first looked into the history of lighting in photography to understand the developments in lighting. I looked at lighting from BC through to the present day and examples include the camera obscura, the daguerreotype, magnesium wire, flashbulbs, electronic flash. Once I had done my research, I created a lighting timeline, as requested by the assignment brief.

While completing this research, I learned which lighting types were appropriate for portraits, and, more specifically, whether they were best suited to studio or location photography. This then led to the next task in the assignment, which was to research lighting techniques for portrait lighting.
I researched 5 lighting styles: butterfly, split, Rembrandt, broad, and loop. I learned which lighting styles best suit different face shapes, genders, and personalities.
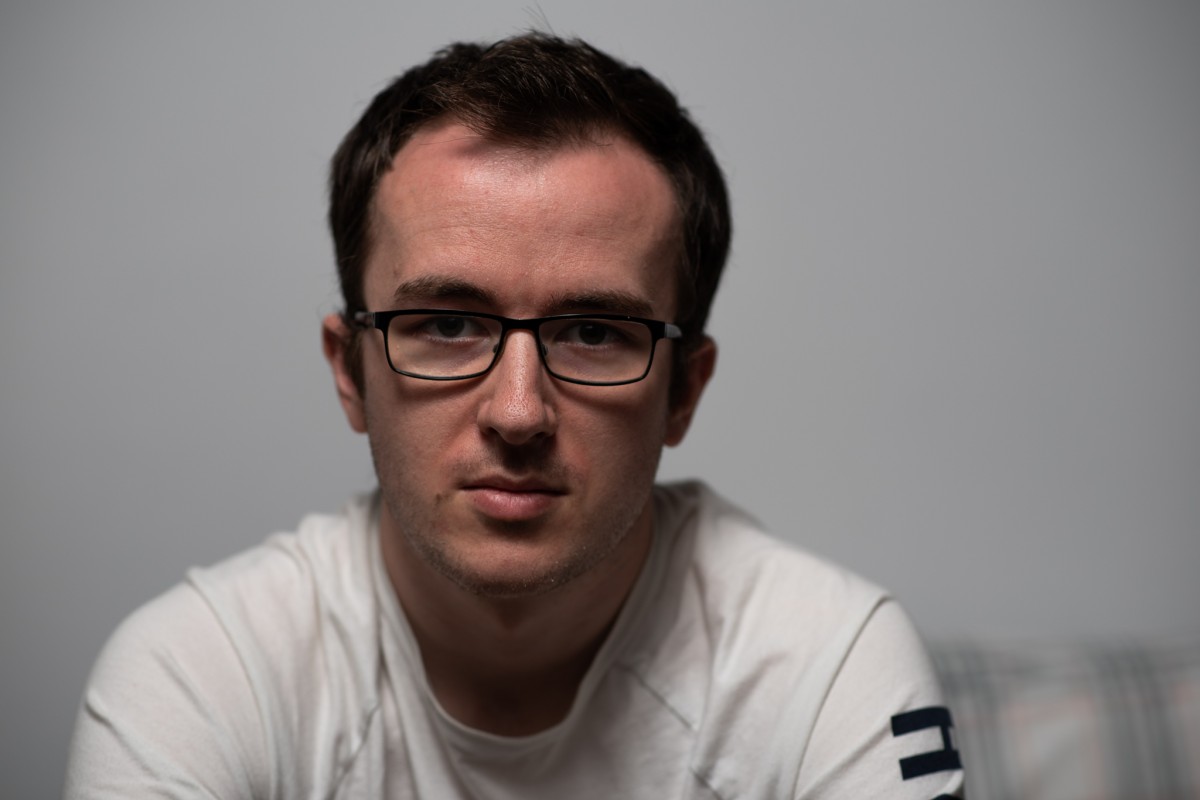
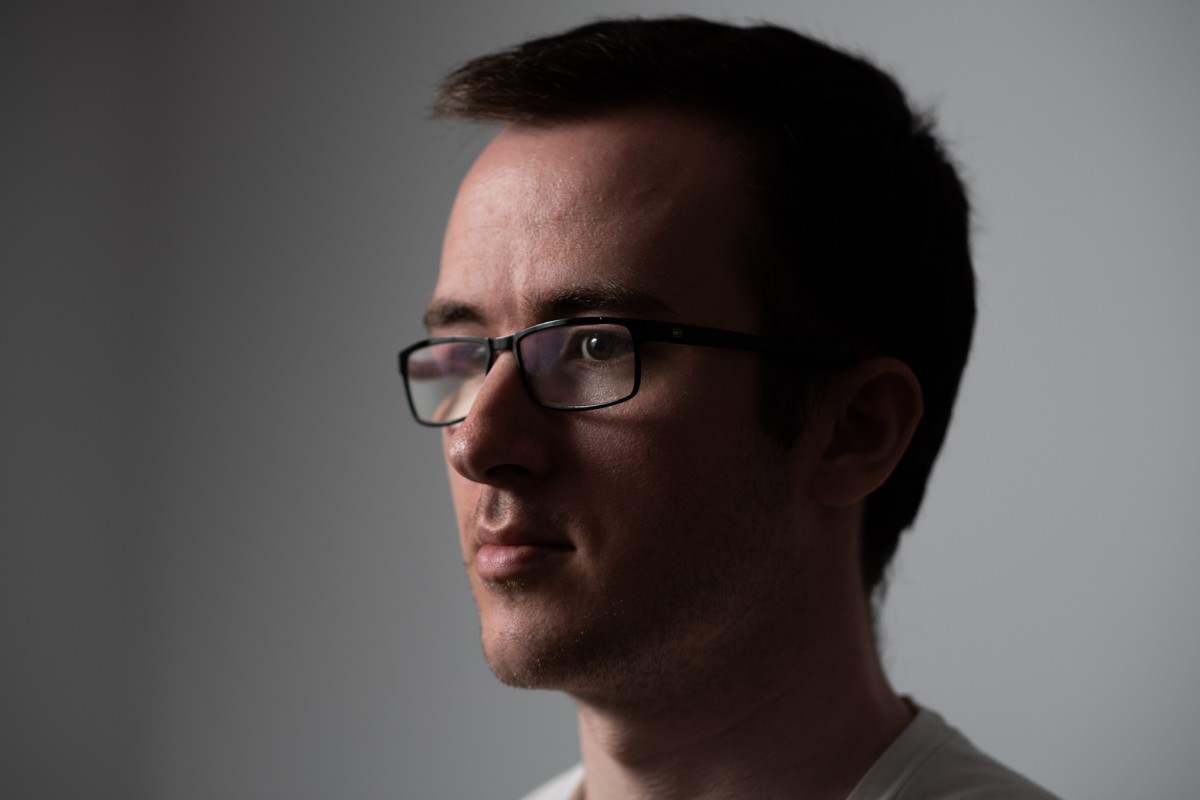
I spent some time testing different lighting techniques (see some examples below) and found that they aren't as difficult to set up as the research suggested. The angles suggested by other photographers explaining how to achieve these lighting styles were, simply, suggestions, and everything could be adjusted to achieve my desired look.
The final section of assignment 3 was to plan for a studio and an environmental portrait, which would be taken for assignment 4. I had to choose a lighting style for a studio portrait (I chose loop lighting) and a different lighting style for an environmental portrait (I chose Rembrandt). I had to discuss how I would portray my model's profession and personality through my images, which, for the environmental shot, was fine as I could use props to suggest his profession; however, I had to think more carefully about how to do this for my studio portrait. Also in this section, I had to create lighting diagrams and detail my intentions for how my setup would work, as well as create a risk assessment for the shoot.
100 pages later and I achieved a distinction for assignment 3, so it was time to start taking the portrait photographs for assignment 4. I was able to do my studio portraits quite quickly as they were indoors and, therefore, not weather dependent; however, I planned for my environmental shots to be taken outdoors, and the rain didn't stop for a week straight, so it took me a while to submit this assignment!
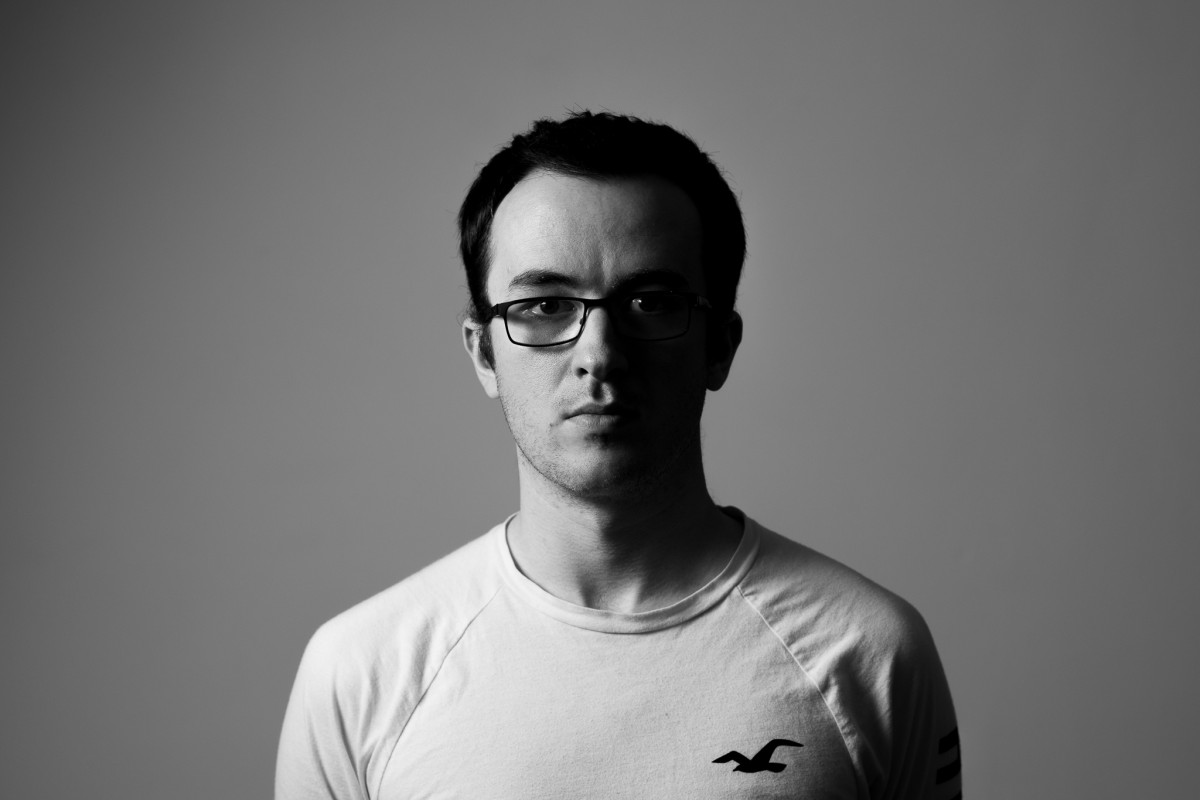
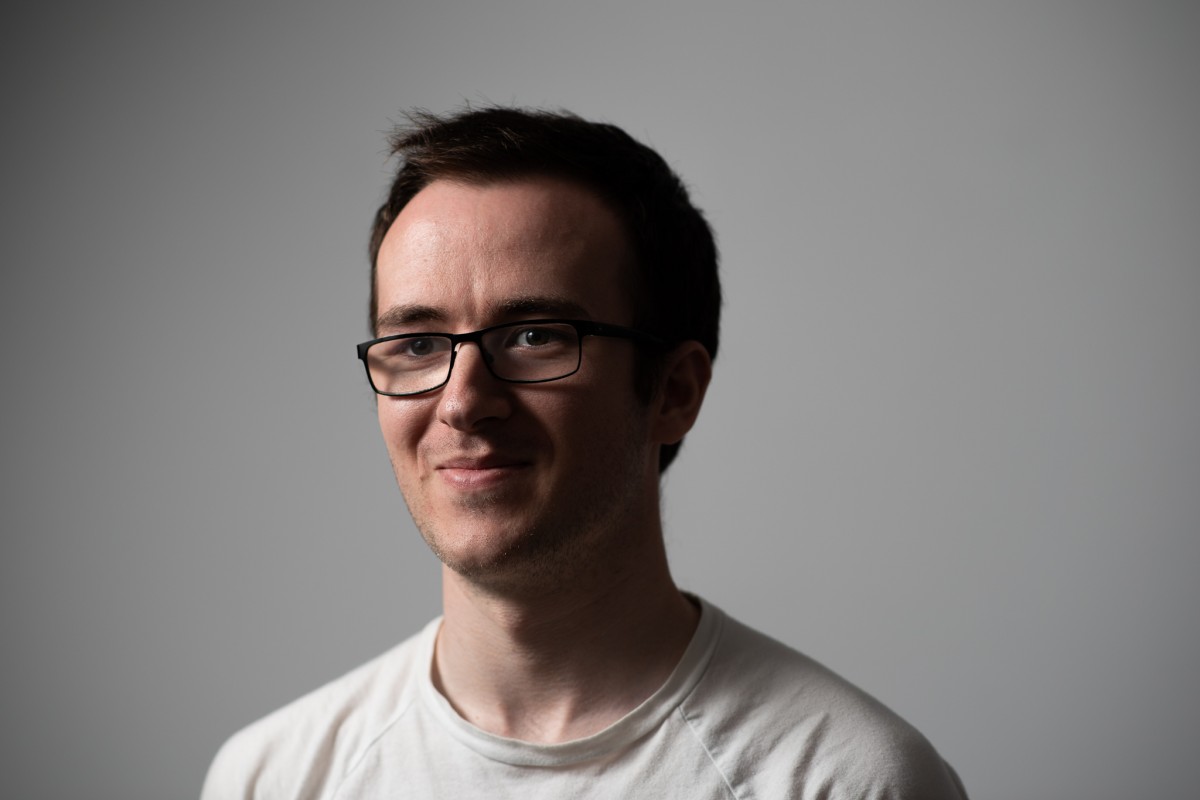
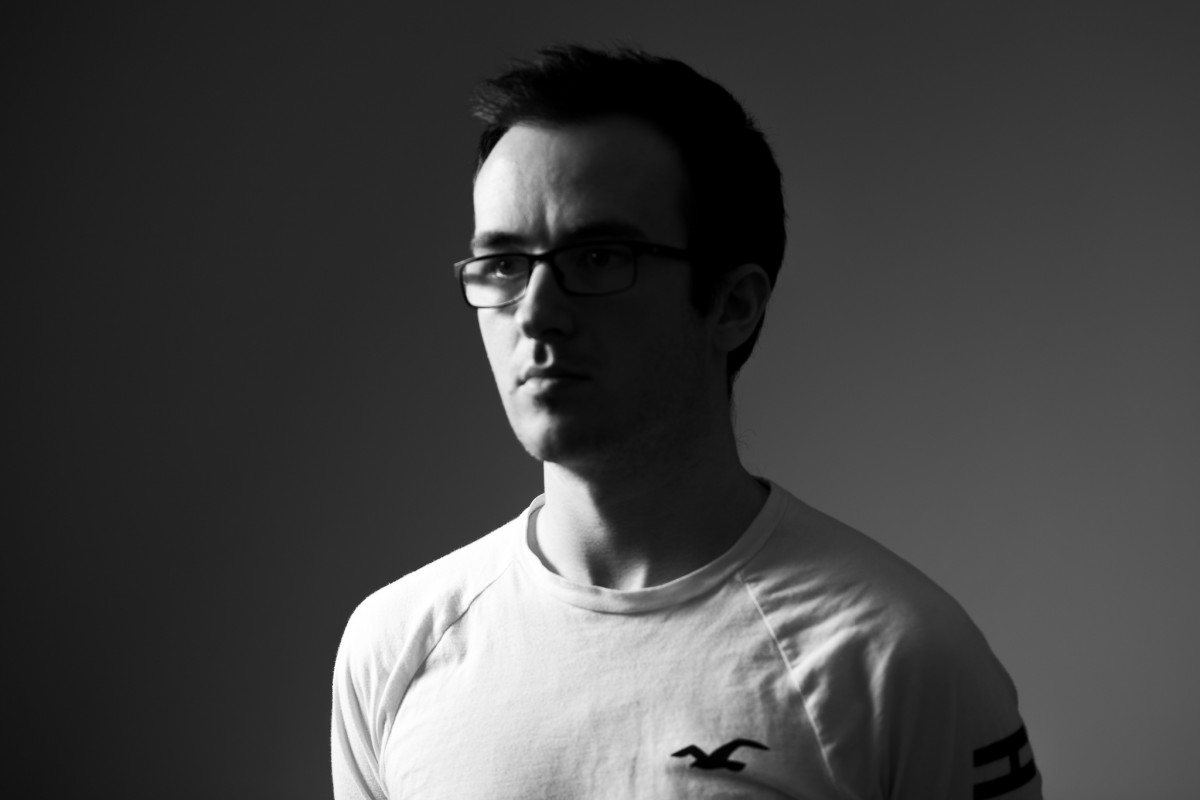
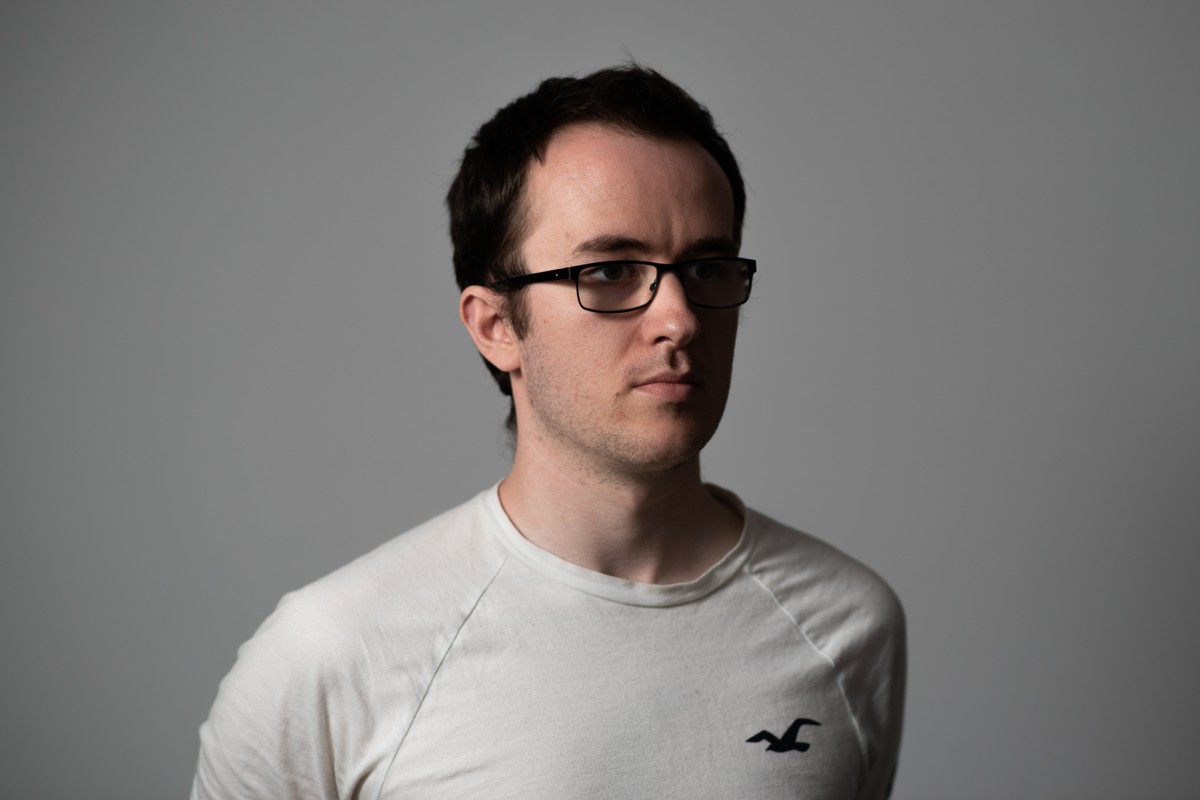
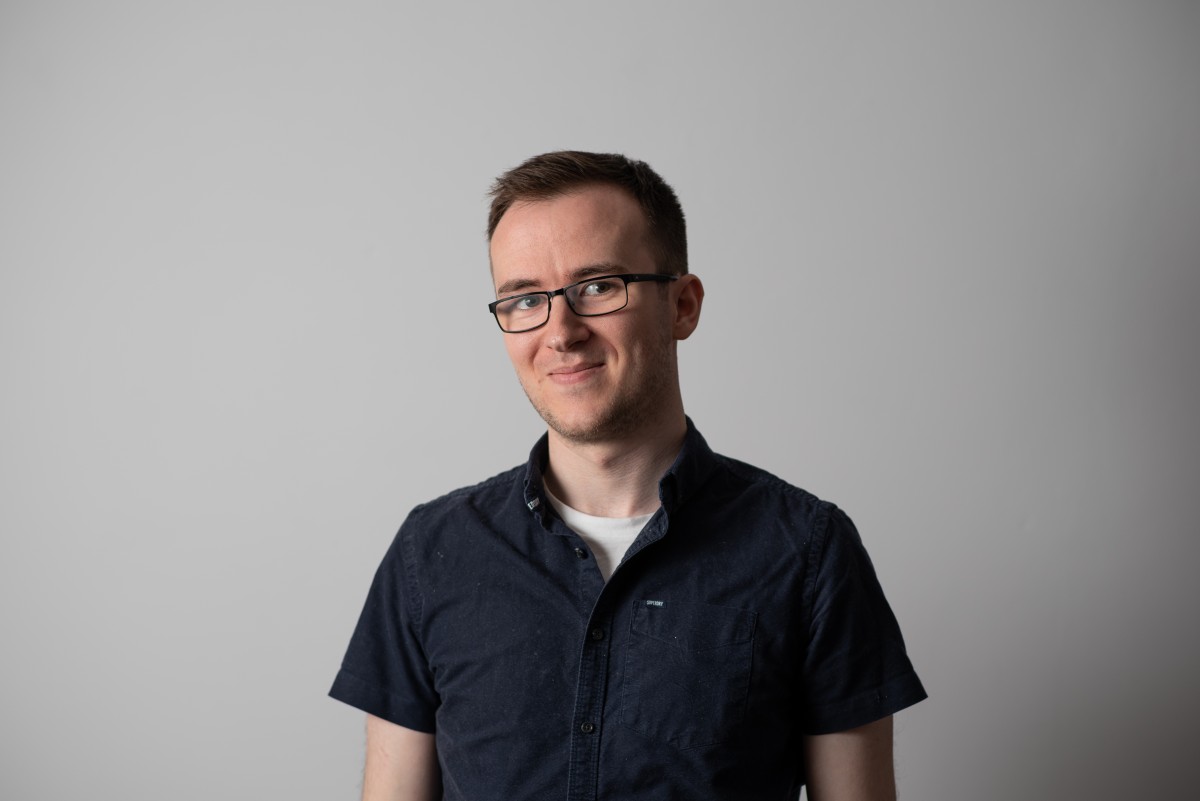
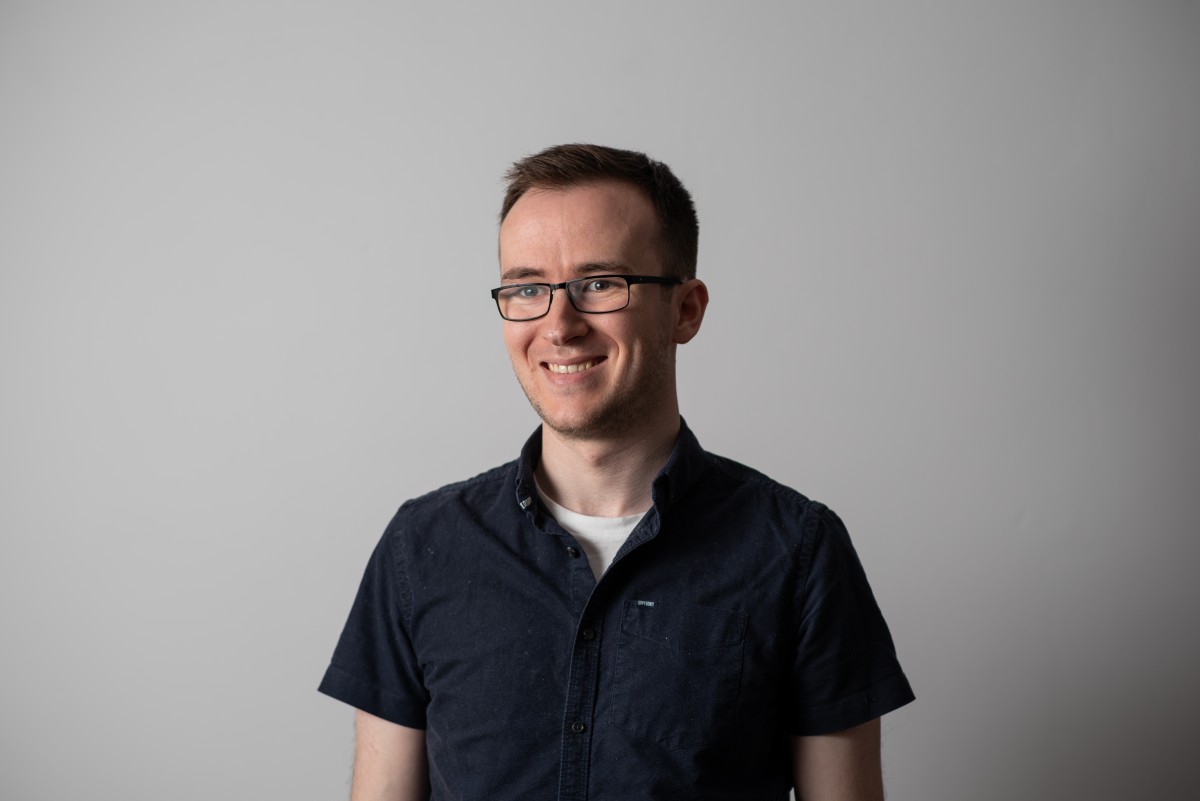
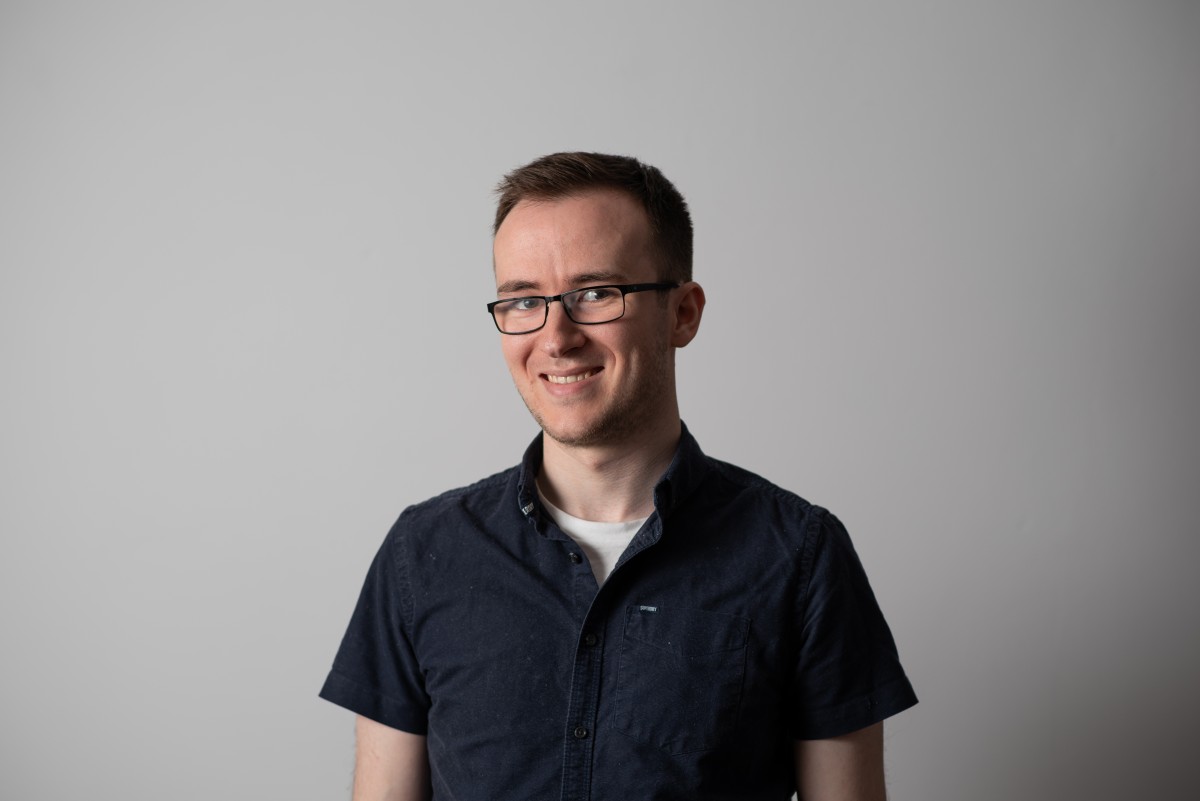
Below are my studio portraits. I chose to use loop lighting for this shoot as I felt it was a nice natural-looking lighting style, which nicely reflects the relaxed personality of my model. My final image was the one in the centre as I think the model appears most comfortable and his smile makes him appear friendly and approachable, which, again, are qualities I intended to try and portray through my photographs.
Below are my environmental shots which I submitted for assignment 4. My model is a musician, so I used a guitar as a prop to help portray this. I also carefully selected clothing to give a country music feel, as this is a style of music he enjoys playing. Finally, I chose to use a brick wall as a background as it feels as though it could be a music album cover or perhaps gives the look of a busker.

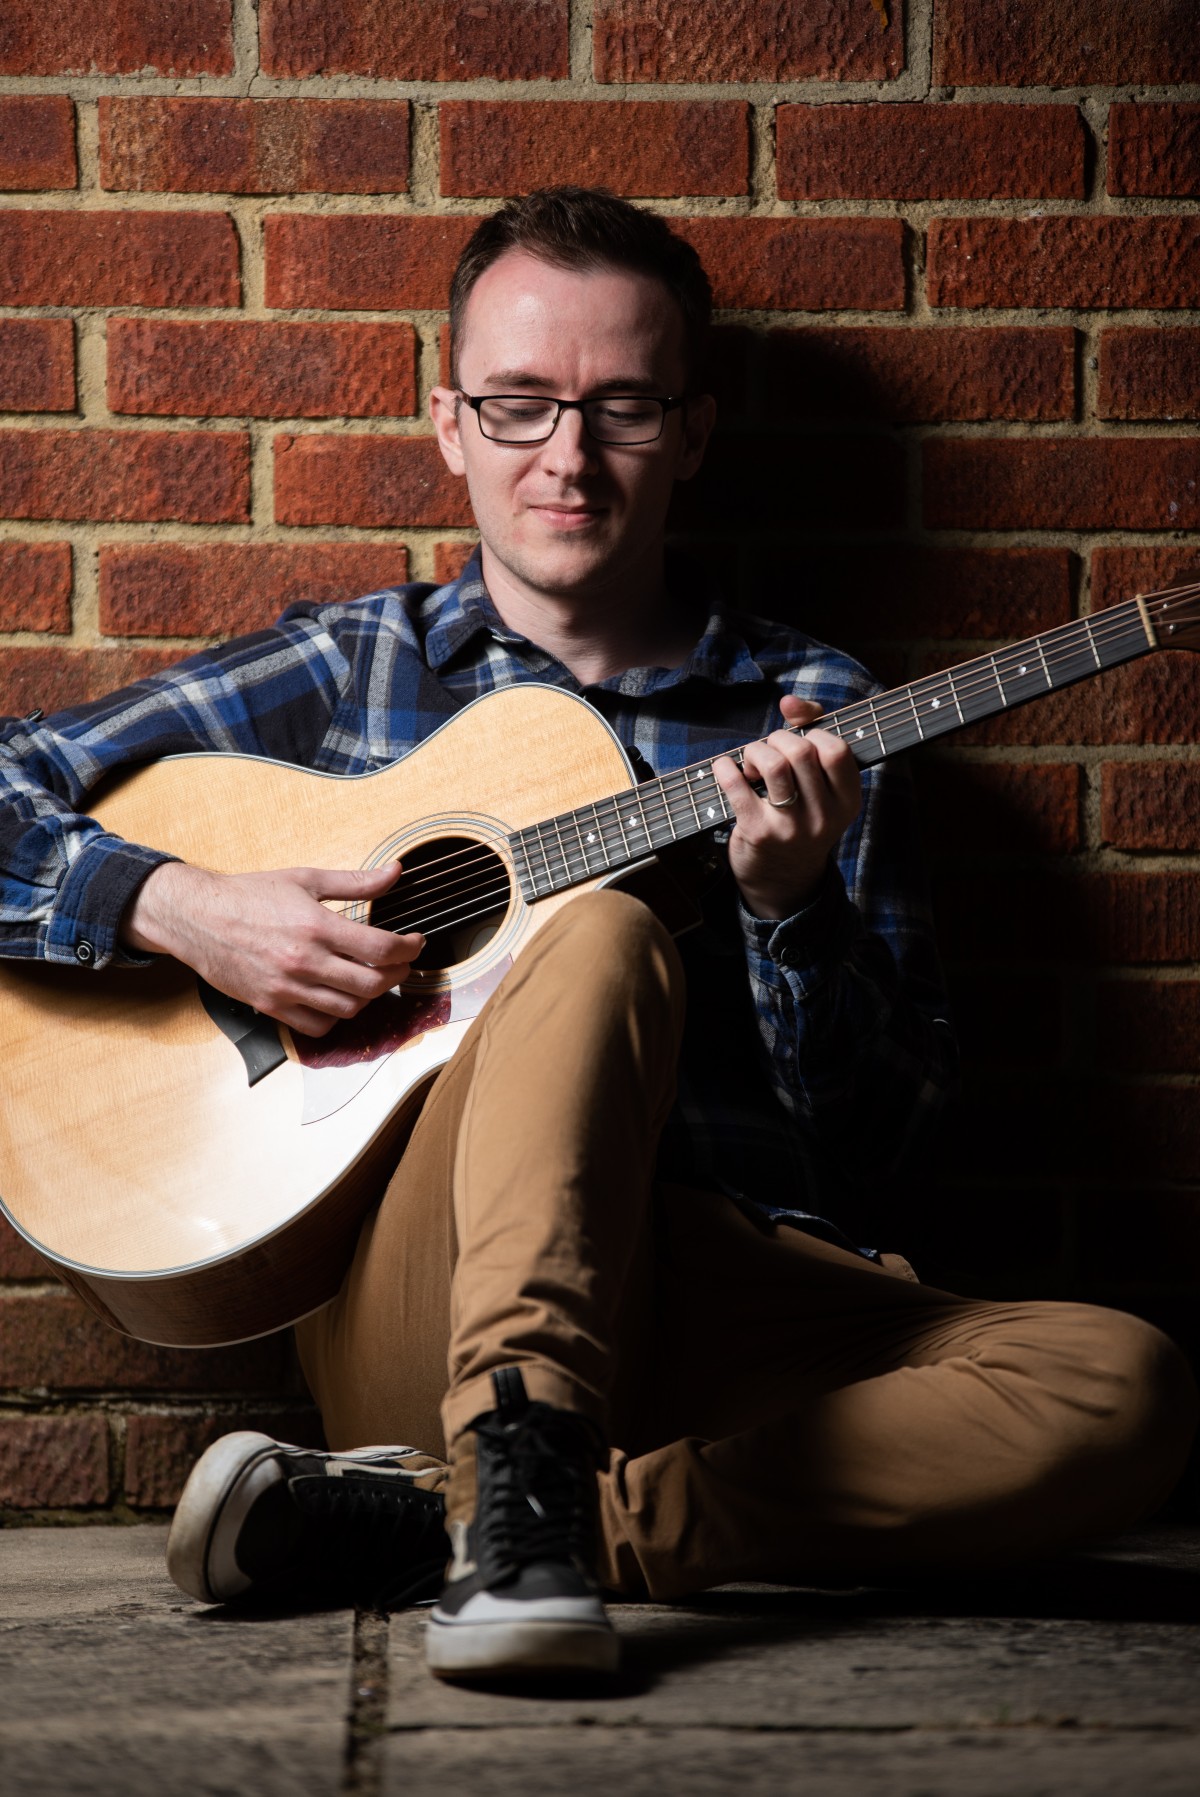
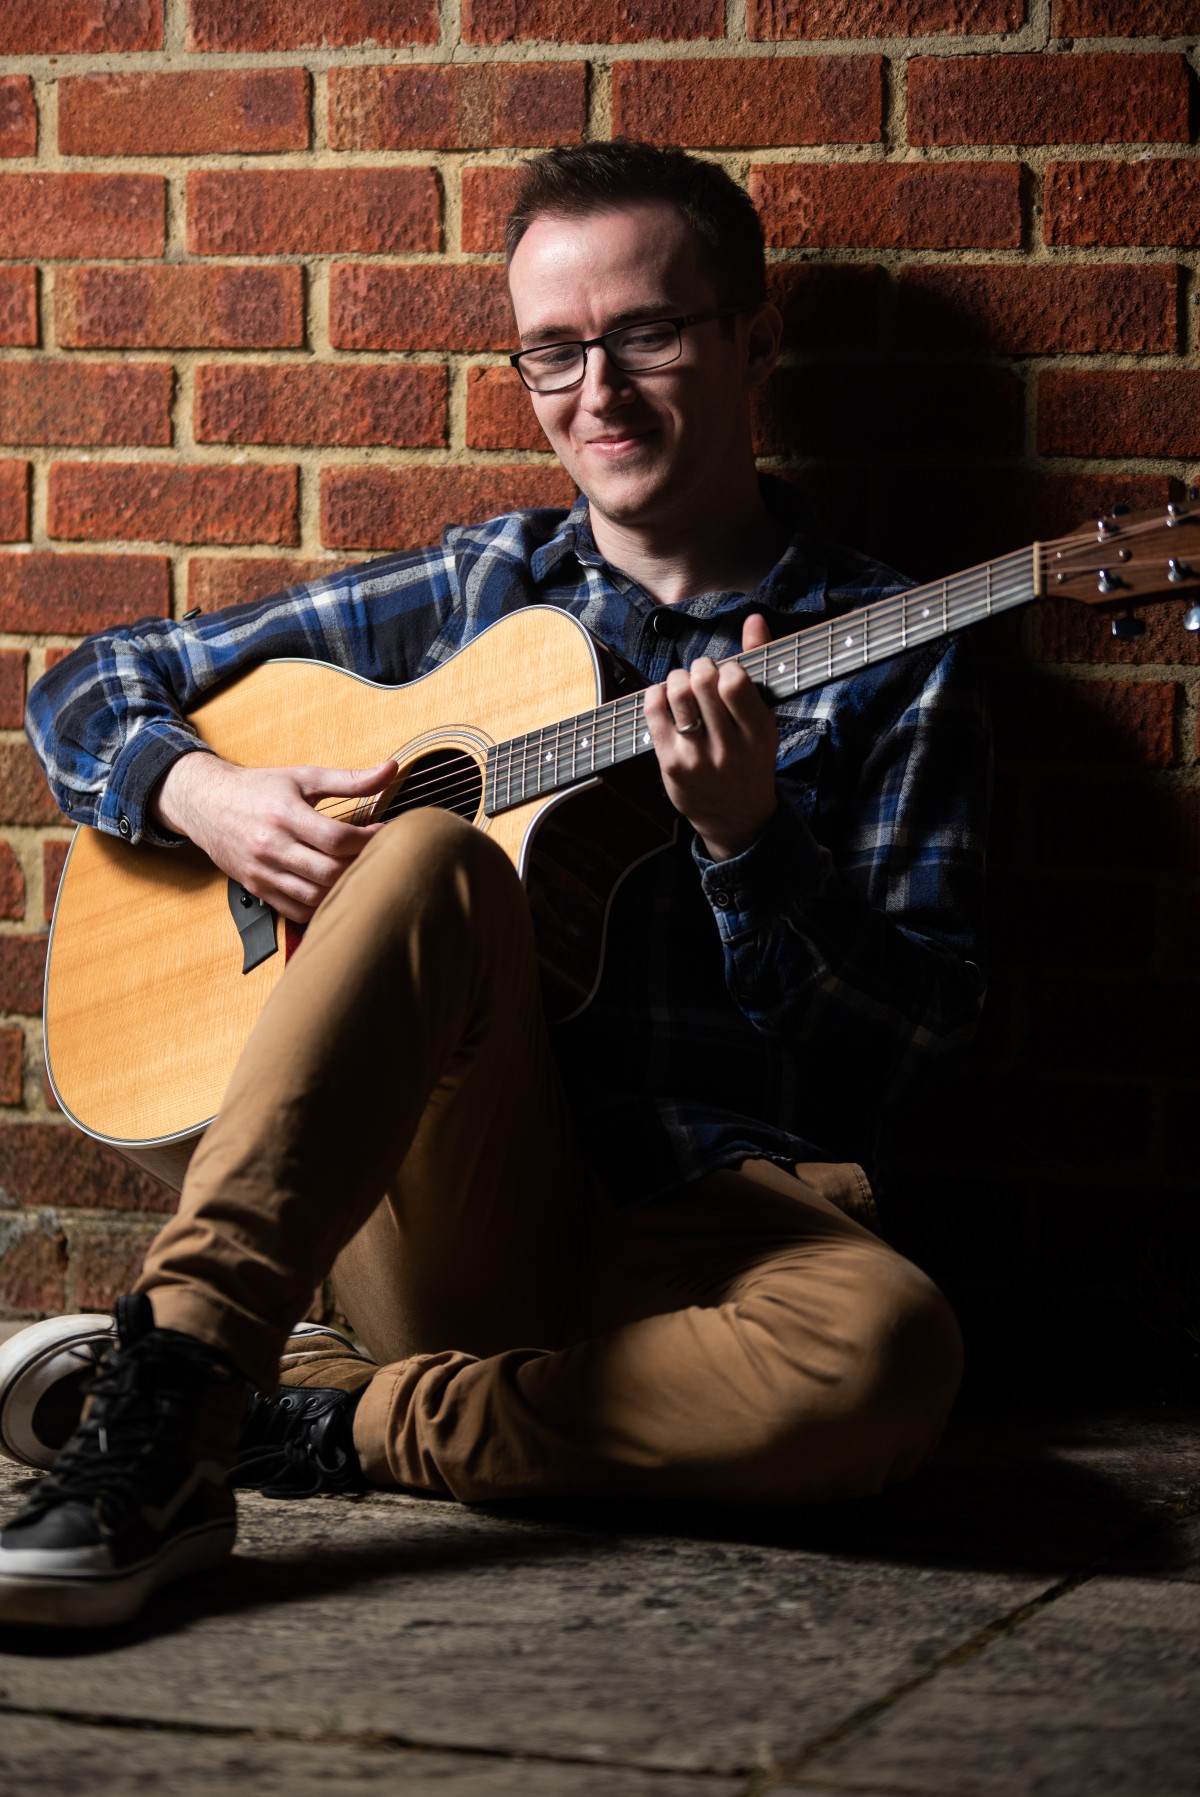
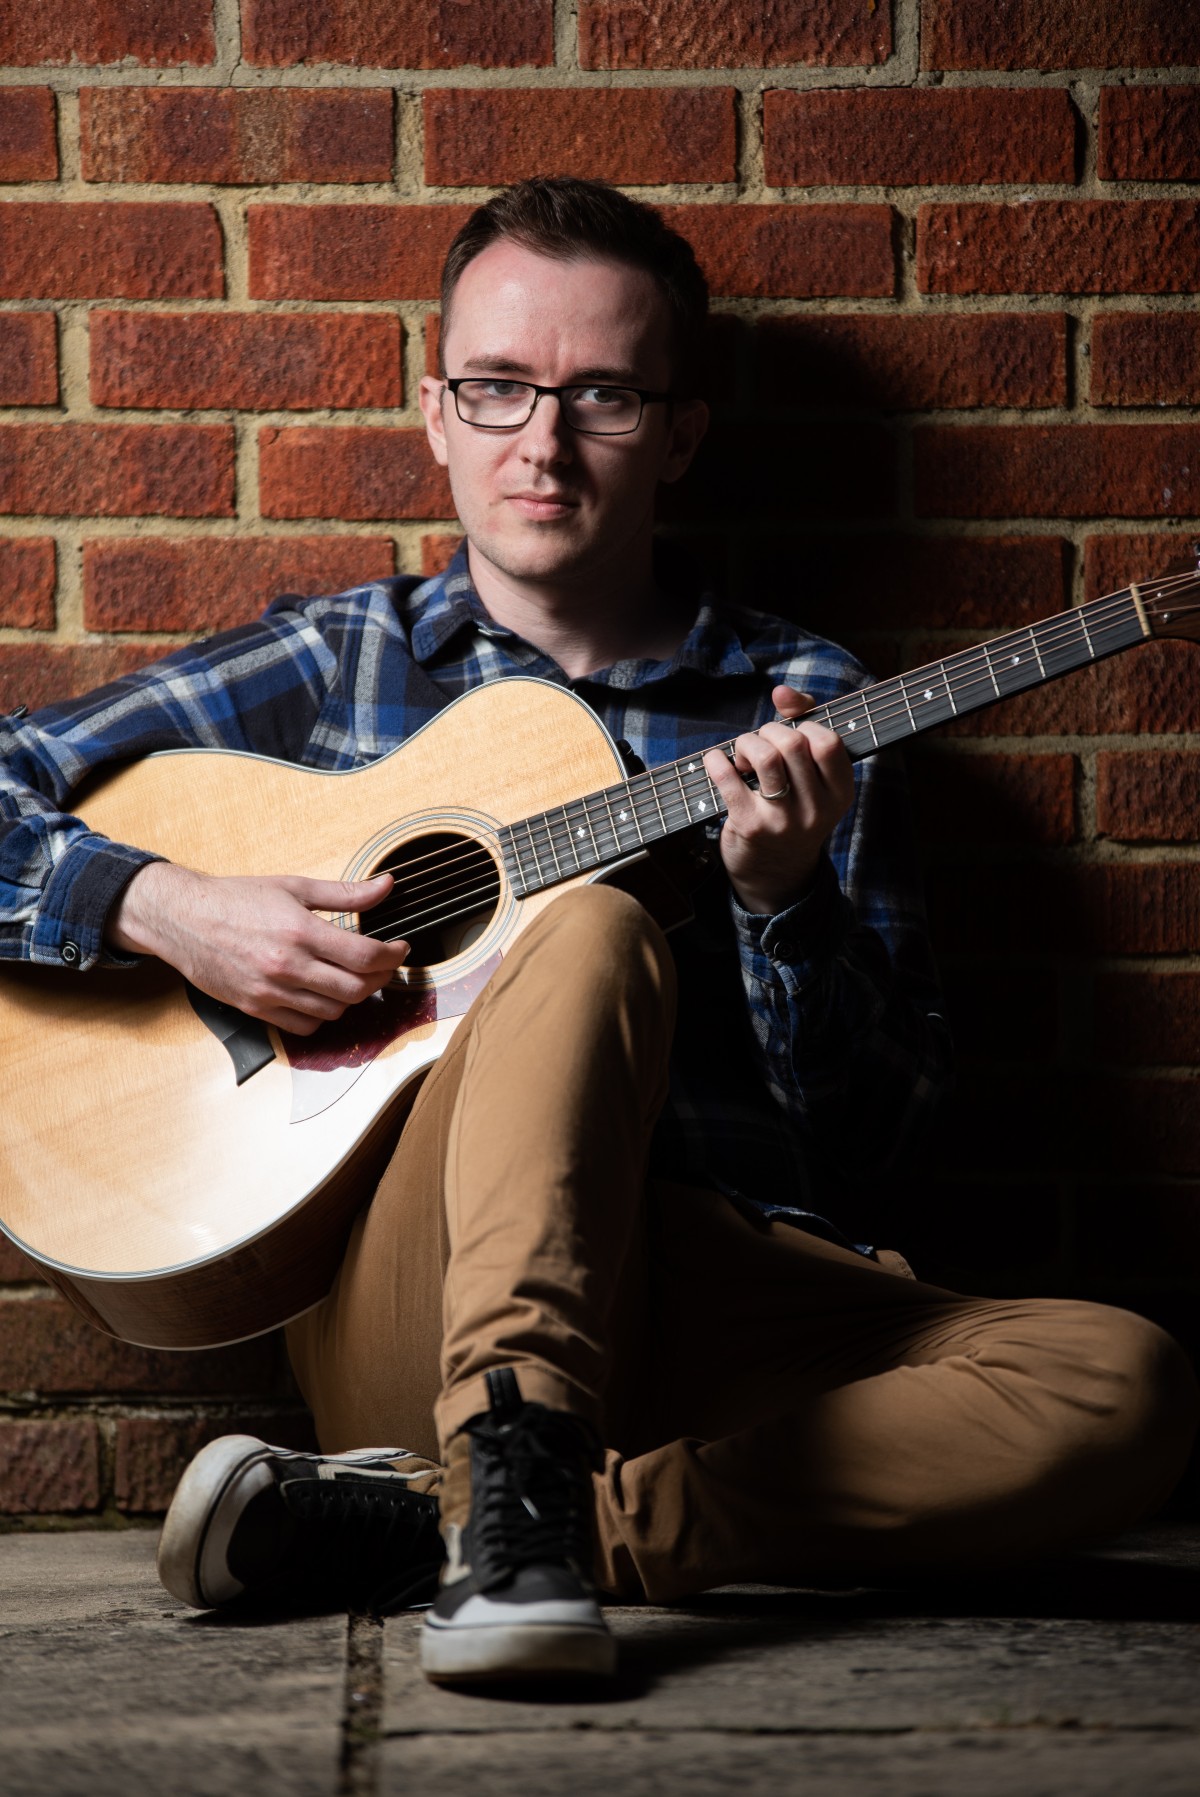
I like the warm colour tones the brick wall brings to the image and I would say that this helps to give the image a more inviting feel. I am pleased with the Rembrandt lighting style that I have achieved for these images and feel that I have been successful in using artificial lighting. It was more challenging to capture strong images for the environmental shots, as, being outdoors, meant that I was competing with the natural light from the sun. I chose to take my images late in the evening, which helped to overcome this challenge, but it meant that it was harder for me to see what I was doing, and especially difficult to ensure the focus was spot on.
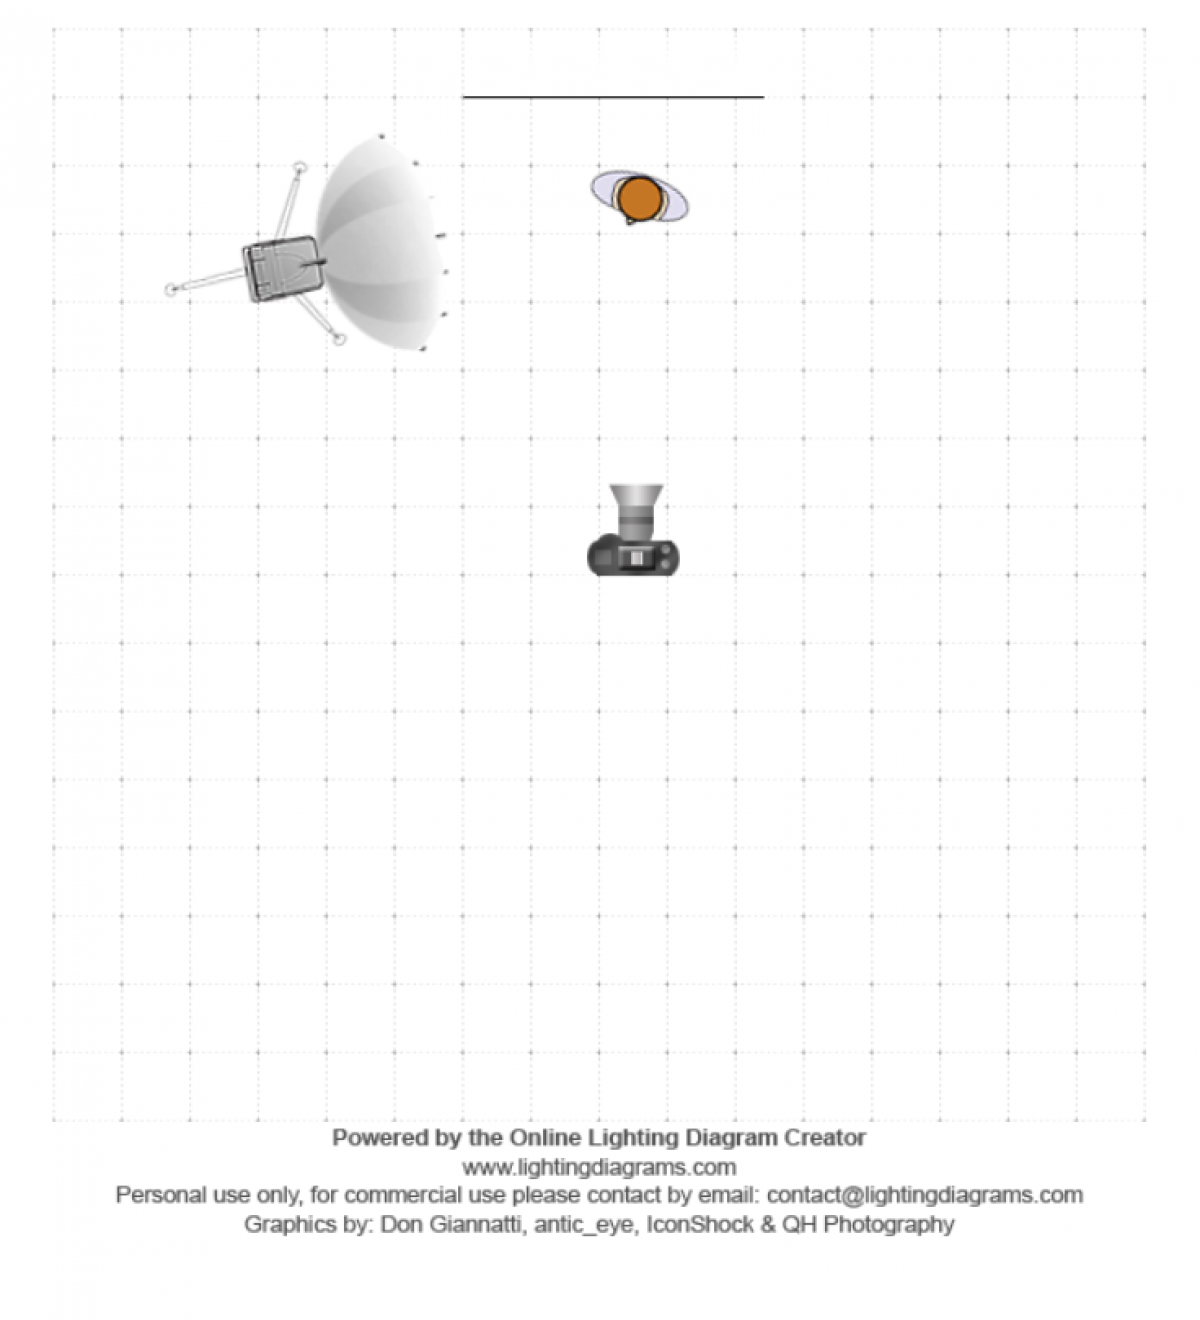
Portrait photography isn't as difficult as it may seem. Though there are ideal starting points for lighting positions, it is more about trial and error to achieve your desired look. You can find lighting diagrams of these starting setups online. Here is an example diagram of the setup I used for my loop lighting setup.
Ensuring the eyes are in focus is the most important part of a portrait image. When talking to people face-to-face, we tend to look others in the eye, and this doesn't change when viewing photographs - we are drawn to the eyes in portrait images. Therefore, it is important that they are in sharp focus. Using lighting techniques that create catchlights or that highlight an eye (e.g. Rembrandt) can be really useful in making the eyes more of a feature and, therefore, ensuring the viewer's attention is drawn to it/them.
Don't be afraid to experiment with light intensity and camera settings. Once you have the setup required to create your ideal look (i.e. a Rembrandt triangle), try over and underexposing the image as sometimes the high contrast can create a really interesting look, even if it isn't the look you intend to capture.


